Table of contents
Discover the transformative power of mastering hassle-free DIY manicures from the comfort of home. Elevate your nail care routine and enjoy salon-worthy results without the stress or mess. Unravel the insider techniques and expert advice that make flawless, long-lasting manicures accessible to everyone—keep reading to unveil the secrets professionals don’t tell you!
Preparation sets the foundation
Thorough nail and cuticle preparation serves as the cornerstone of a flawless, chip-free finish when performing a DIY manicure. Starting with clean, dry nails ensures that oils and debris do not interfere with product adhesion, making this initial step vital for long-lasting results. Begin by gently filing the free edge to shape and smooth, followed by buffing the nail plate. Buffing not only evens out the surface but also helps polish adhere more securely. Incorporating nail prep techniques like exfoliate nails and careful cuticle care with quality manicure tools prevents peeling and hangnails, contributing to healthy nails overall. Properly pushing back and trimming the cuticle, while being cautious not to damage the nail matrix, maximizes the surface area for polish and prevents unsightly ridges or lifting. Ask the person with the most authority in nail care to elaborate on why meticulous preparation of the nail plate is indispensable, emphasizing that this step directly affects how well polish adheres and how long the manicure will last without chipping or peeling.
Choosing the right nail shape
Selecting a nail shape that enhances both hand structure and personal style is a key step for achieving a professional-quality DIY manicure. Understanding how to file nails into shapes such as almond, oval, or square can dramatically influence nail aesthetics—each option brings distinct visual effects and practical benefits. Almond and oval shapes, for instance, tend to elongate fingers and offer a softer look, while square shapes provide a modern, bold edge and additional strength, making them particularly suitable for those with active lifestyles. Carefully analyzing the natural contours of the fingers and nail beds helps in choosing a shape that not only flatters but also supports daily function, as shaping directly impacts how nails wear and resist breakage.
According to the leading authority in nail artistry, achieving precise symmetry and balance at the free edge—the outermost part of the nail—plays a pivotal role in perfecting the finish of any DIY manicure. Precision in this stage not only enhances visual harmony but also contributes to durability, as even and smooth edges reduce the risk of snagging or peeling. Strategic filing techniques ensure the chosen nail shape remains consistent across all fingers, reflecting cohesive and meticulous nail aesthetics. This attention to detail underscores the transformative effect that selecting and shaping nails with intention can have on the overall outcome, making the difference between an amateur result and a salon-worthy look at home.
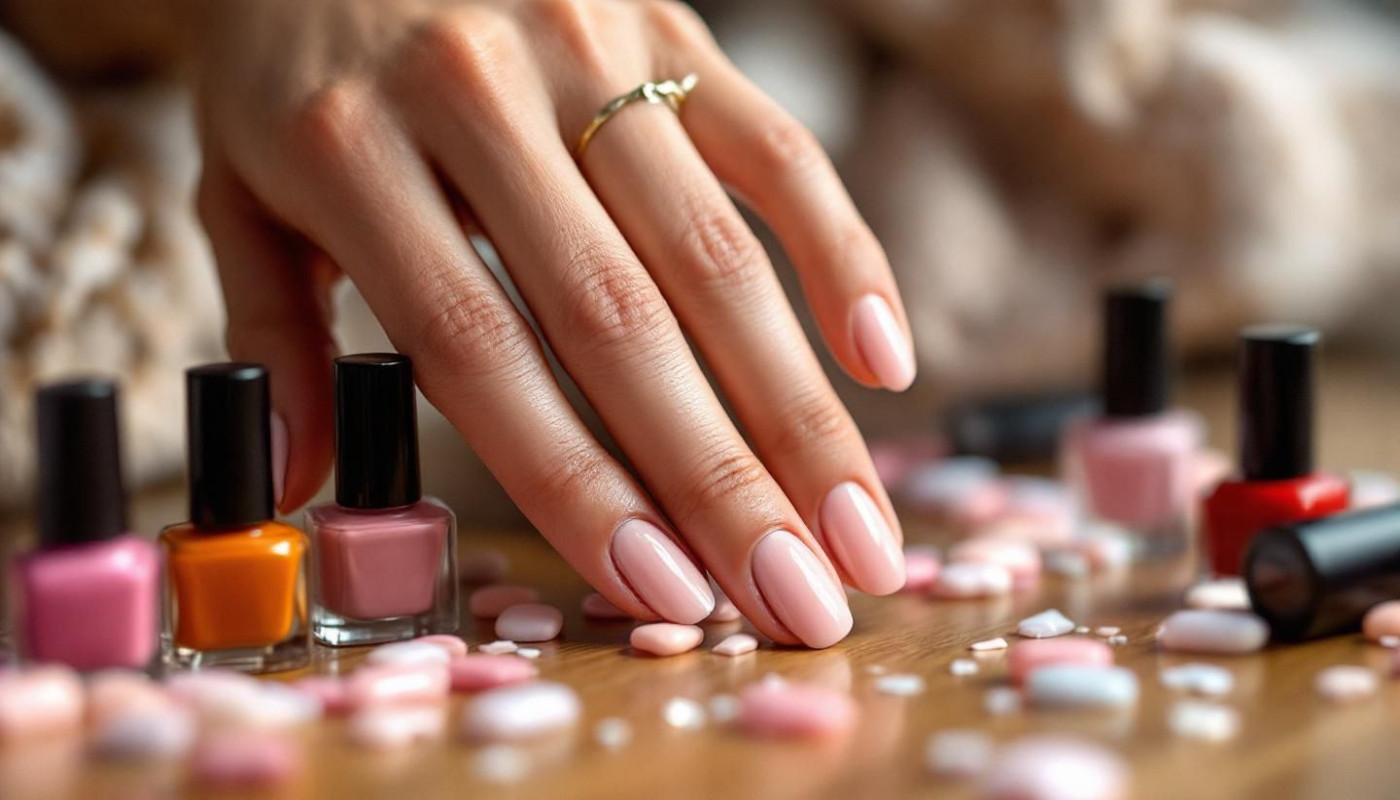
Mastering flawless polish application
Achieving streak-free nails at home is entirely possible with the right polish application techniques and a focus on detail. Begin by always applying a base coat, as it smooths the nail surface, prevents staining, and creates a strong foundation for DIY nail polish. For polish application itself, avoid flooding the cuticles by wiping one side of the brush against the bottle, then use the "three-stroke method": start with a stroke down the center of the nail, followed by one on each side, ensuring even coverage and minimizing streaks. Uneven coats are a common issue; keep layers thin, allowing each coat to dry before adding another. A top coat seals in color, adds shine, and prevents chips, creating a finish that rivals professional salons.
Top nail technicians emphasize that mastering the three-stroke approach not only delivers smooth, uniform results but also extends the life of your manicure. Consistent use of base and top coats is vital for both appearance and durability. For those seeking more expert tips and innovative tools, look at this site for guides, decals, and resources tailored to perfecting polish application at home. This ensures every DIY nail polish enthusiast can enjoy salon-quality results without the hassle of appointments or touch-ups.
Drying and setting techniques
Achieving smudge-free nails during DIY nail care depends largely on how effectively you dry nail polish and set your manicure. While air drying remains the most common approach, it often requires patience, as it can take up to 20 minutes for each coat to become touch-dry. For those seeking fast drying nails, incorporating a fan or using cool air from a hairdryer speeds up the process and helps reduce the risk of dents. Quick-dry drops are another effective solution, as these specially formulated liquids help accelerate the setting of nail polish layers, providing a smoother, more durable finish. To truly set manicure results and enjoy lasting, resilient nails, it’s vital to layer thin coats, allowing each layer proper drying time before applying the next.
For a deeper understanding of what makes a professional set manicure last, it’s helpful to consider the technical term polymerization. An experienced nail technician would explain that polymerization refers to the chemical process that transforms liquid nail polish into a solid, durable film on the nail surface. Best practices for a resilient finish include not only choosing high-quality products but also minimizing humidity and avoiding thick polish layers, which can slow down polymerization and increase the risk of smudging. Following these techniques ensures a long-lasting, flawless look that rivals salon results, making DIY nail care both rewarding and effective.
Maintenance for lasting results
A well-executed at-home manicure can be preserved with a dedicated nail care routine focused on maximum durability and nail health. Manicure maintenance starts with daily efforts to moisturize cuticles and nails using nourishing oils or creams, which helps prevent dryness and cracking. Consistently keeping hands and nails hydrated supports both chip prevention and promotes long-lasting nails, as moisture reinforces the natural flexibility of the nail plate and the surrounding skin. For extending polish life, wearing gloves during household chores, especially when using water or harsh chemicals, is highly recommended. Quick touch-ups with a clear topcoat every few days can also refresh the shine and seal edges, further reducing the risk of premature chipping.
Adopting certain habits contributes significantly to nail strength and polish longevity. Avoid using nails as tools to open packages or scrape surfaces, as this increases the likelihood of chips and breakage. In addition, gently filing nails in one direction rather than back and forth minimizes splitting and keeps the free edge smooth. Nightly application of cuticle oil not only moisturizes cuticles but also enhances the overall flexibility and resilience of both nails and skin, which is fundamental for chip prevention.
Nail health experts, including leading dermatologists and professional manicurists, consistently emphasize that hydration is one of the most influential factors for maintaining healthy nails and skin. Hydrated nails are less prone to splitting and peeling, while well-moisturized cuticles act as a barrier against infection and inflammation. Integrating regular hydration into your nail care routine ensures that the manicure looks fresh and vibrant for longer, and promotes stronger, healthier growth over time.
On the same subject

Exploring The Impact Of Holistic Approaches In Modern Psychotherapy

The Role Of Big Data In Data Center Growth
